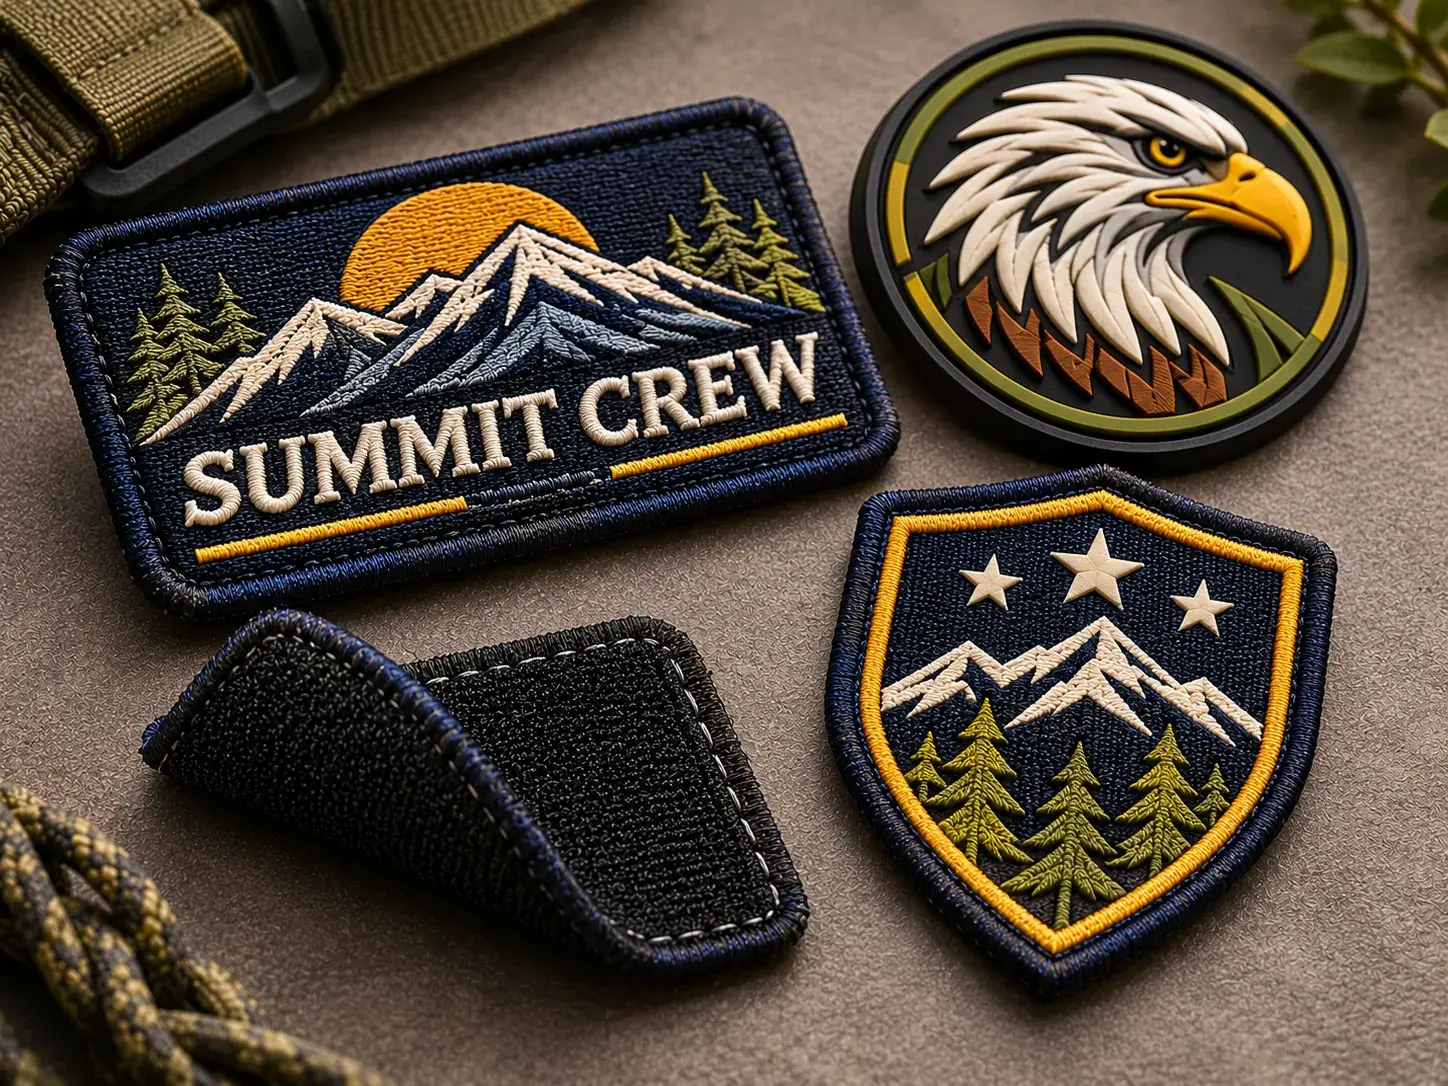
How-To
How to Attach Velcro Patches to Clothes, Hats and Gear
By the Nation Patches team · Updated · 7 min read
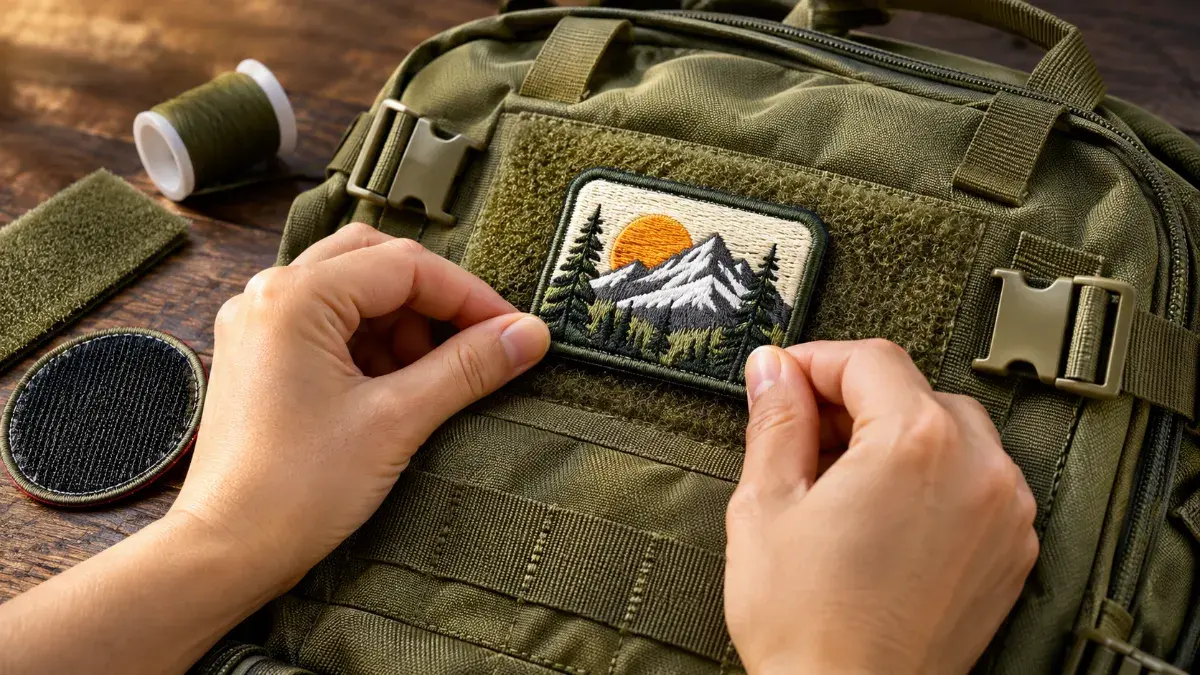
Learning how to attach Velcro patches is simple once you know how the two sides work. The patch carries the stiff hook side, and your gear carries the soft loop side.
Some gear already has loop panels sewn in, so you just press the patch on. For everything else, you add a loop panel first. Below, we cover both cases, plus placement, sizes and care.
How Velcro Patches Work
Velcro is a brand name, but most people use it for any hook-and-loop fastener. Every fastener has two halves that grip when pressed together.
Hook side (on the patch)
Stiff and scratchy, with tiny plastic hooks. It is sewn to the back of the patch.
Loop side (on the gear)
Soft and fuzzy. It stays on your jacket, hat, bag or vest, so it won't scratch skin when no patch is attached.
This setup lets you swap patches in seconds. That is why hook-and-loop backing is popular for uniforms, tactical gear, team bags and name tapes.
Step 1: Check Your Gear for a Loop Panel
Look for a soft, fuzzy rectangle on the item. Many backpacks, plate carriers, tactical caps and duty jackets have one already. If you find one, skip ahead to placing the patch.
If there is no loop panel, you need to add one. Cut a piece of loop fabric slightly larger than your patch, about 1/4 inch extra on each side. Round the corners so they don't peel up.
Step 2: How to Attach Velcro Patches Without a Loop Panel
There are three common ways to add a loop panel. Choose based on the fabric and how much wear the item gets.
| Method | Best for | Hold | Notes |
|---|---|---|---|
| Sew-on loop | Jackets, uniforms, bags, vests | Strongest | Survives regular washing |
| Iron-on loop | Cotton and denim | Good | Not for nylon, leather or heat-sensitive fabric |
| Adhesive loop | Hard cases, helmets, display boards | Light | Not made for clothing or washing |
Sewing a loop panel
- 01
Mark the spot
Put the item on, or lay it flat, and mark where the patch should sit with chalk or pins.
- 02
Pin the loop panel
Pin the loop fabric in place, fuzzy side up. Keep it straight and centered.
- 03
Stitch around the edge
Sew about 1/8 inch from the edge with strong polyester thread. A straight stitch or tight zigzag both work.
- 04
Lock the ends
Backstitch where you start and finish so the seam won't unravel.
- 05
Test the grip
Press your patch on firmly, then peel it off. The panel should not lift or pull.
New to sewing patches and panels? Our guide on how to sew on a patch covers hand and machine stitching.
Step 3: Place and Press the Patch
- Brush off any lint or dirt from the loop panel.
- Line up the top edge of the patch with the top of the panel.
- Press the center first, then work out to the corners.
- Run your hand firmly over the whole patch so every hook grips.
- To remove it, peel slowly from one corner, not from the middle.
Where to Put Velcro Patches and What Size to Choose
Pick a patch size that fits the loop area you have. Keep sizes consistent across a team or department so every set looks the same.
| Placement | Typical size | Common uses |
|---|---|---|
| Hat front | 2–3.5 in | Team logos, unit patches, morale patches |
| Left chest | 2–3.5 in | Name tapes, company logos |
| Shoulder or sleeve | 3–4 in | Department, unit and team patches |
| Chest emblem or vest front | 3–4 in | ID patches, role patches |
| Back panel | 8 in or more | Department names, team names, large club designs |
| Backpack panel | 3–4 in | Morale patches, group logos |
Need more help with sizing? Our patch size and shape guide has examples for every placement.
Tips for Hats, Vests, Bags and Uniforms
Hats and caps
Many tactical caps have a loop panel on the front. On a regular cap, sewing a panel is tricky because of the curved front and the inner sweatband. A curved needle helps. For everyday caps, a permanent hat patch may be easier.
Tactical vests and plate carriers
Most carriers have large loop fields on the front and back. Use them for name tapes, blood type tapes and morale patches. Choose patches that match the loop area so the edges don't hang off.
Backpacks and duffel bags
Heavy canvas and nylon bags are hard to sew by hand. A thimble and a heavy-duty needle help, or a local tailor can stitch the panel for you.
Work and duty uniforms
Sew the loop panel on before the uniform is issued. Then each person can swap name, role or rank patches as needed without new sewing.
Common Mistakes to Avoid
Most problems with hook-and-loop patches come from a few easy-to-avoid mistakes.
- Putting the hook side on the garment. It scratches skin and snags knit fabric. Keep the hook side on the patch.
- Using a loop panel that is too small. The patch edges hang off and catch on things. Make the panel slightly larger than the patch.
- Using adhesive loop on clothing. Body heat and washing loosen the glue. Sew the panel on instead.
- Ironing over the hook side. Heat can melt or flatten the hooks, and then the patch won't grip.
- Mixing sizes on one team. Different sizes look uneven. Pick one size for each placement and order the whole set together.
Keeping Velcro Patches Gripping
- Clean the hook side with a stiff brush or a fine comb to remove lint and threads.
- Remove patches before washing, or press them on firmly so the hook side can't grab other clothes.
- Avoid high dryer heat, which can weaken the plastic hooks over time.
- Store hook-backed patches apart from fabric patches so they don't snag each other.
For full washing and storage tips, read our guide on how to wash patches.
Ordering Custom Hook-and-Loop Patches
Hook-and-loop backing works with embroidered, PVC and woven patches. Tell us where the patch will go and the size of the loop area, and we'll help you choose the right type and size.
You'll get a digital proof, usually the same working day. Production starts only after you approve it. Delivery is about 7 days after approval, or up to 10 days for large quantities. Every batch is inspected and ships with tracking to any US address. Bulk orders for teams and departments are welcome. See our custom Velcro patches or request a quote.
Frequently Asked Questions
Can you attach Velcro patches without sewing?
Yes, if your gear already has a loop panel. If not, you can use an iron-on loop panel on cotton or denim, or an adhesive loop panel on hard surfaces. Sewing gives the strongest hold on clothing.
Which side of the Velcro goes on the patch?
The stiff hook side goes on the back of the patch. The soft loop side goes on your jacket, hat, bag or vest.
Can you iron on a Velcro patch?
Not directly. Heat can damage the plastic hooks. Instead, attach a loop panel to the garment and press the hook-backed patch onto it.
Why won't my Velcro patch stick anymore?
The hook side is usually full of lint or thread. Clean it with a stiff brush or a fine comb, and the grip should come back.